
This guide contains affiliate links. If you buy through them, Geonatra may earn a small commission at no extra cost to you. Read our full affiliate disclosure.
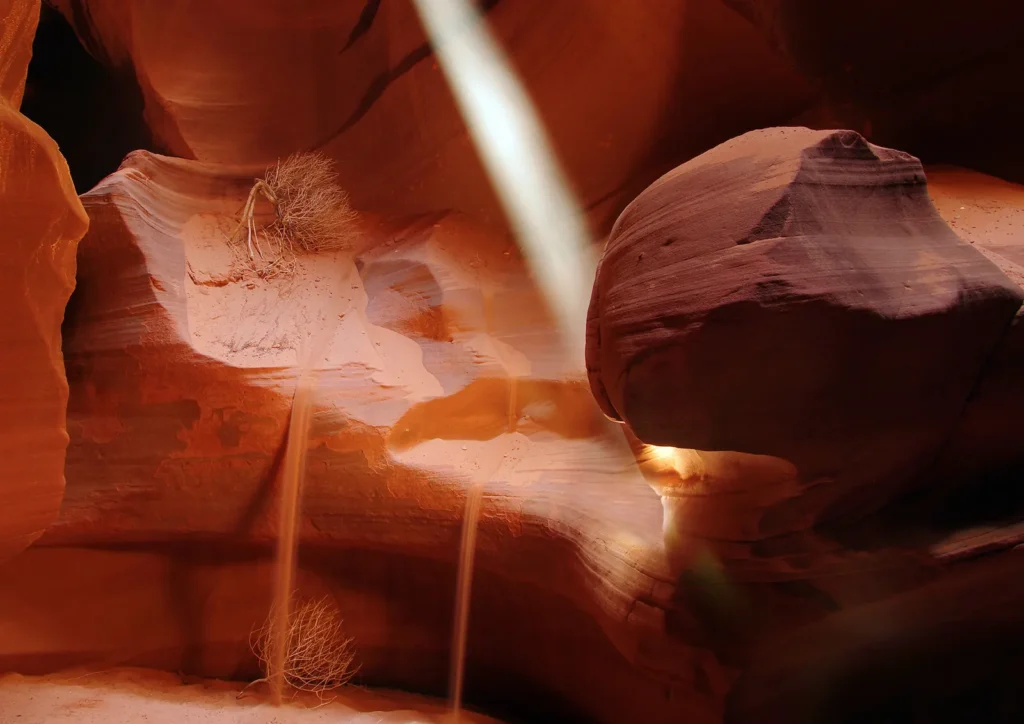
The right camera gear for Antelope Canyon is not what most photos suggest. Antelope Canyon photos look effortless online, but what those photos do not show is the guide moving your group forward every ninety seconds, the sand working its way into every zipper you own, and the jump from bright sandstone glow to near-black shadow that confuses most cameras into picking the wrong exposure.
Standard tours do not allow tripods. Photography tours do, but cost more and still move on a schedule. Whatever gear you bring has to work handheld, work fast, and survive a genuinely dusty environment. Here is the camera gear for Antelope Canyon that actually holds up, not just what looks good in a gear review.
Why Your Regular Camera Setup Falls Apart Inside A Slot Canyon
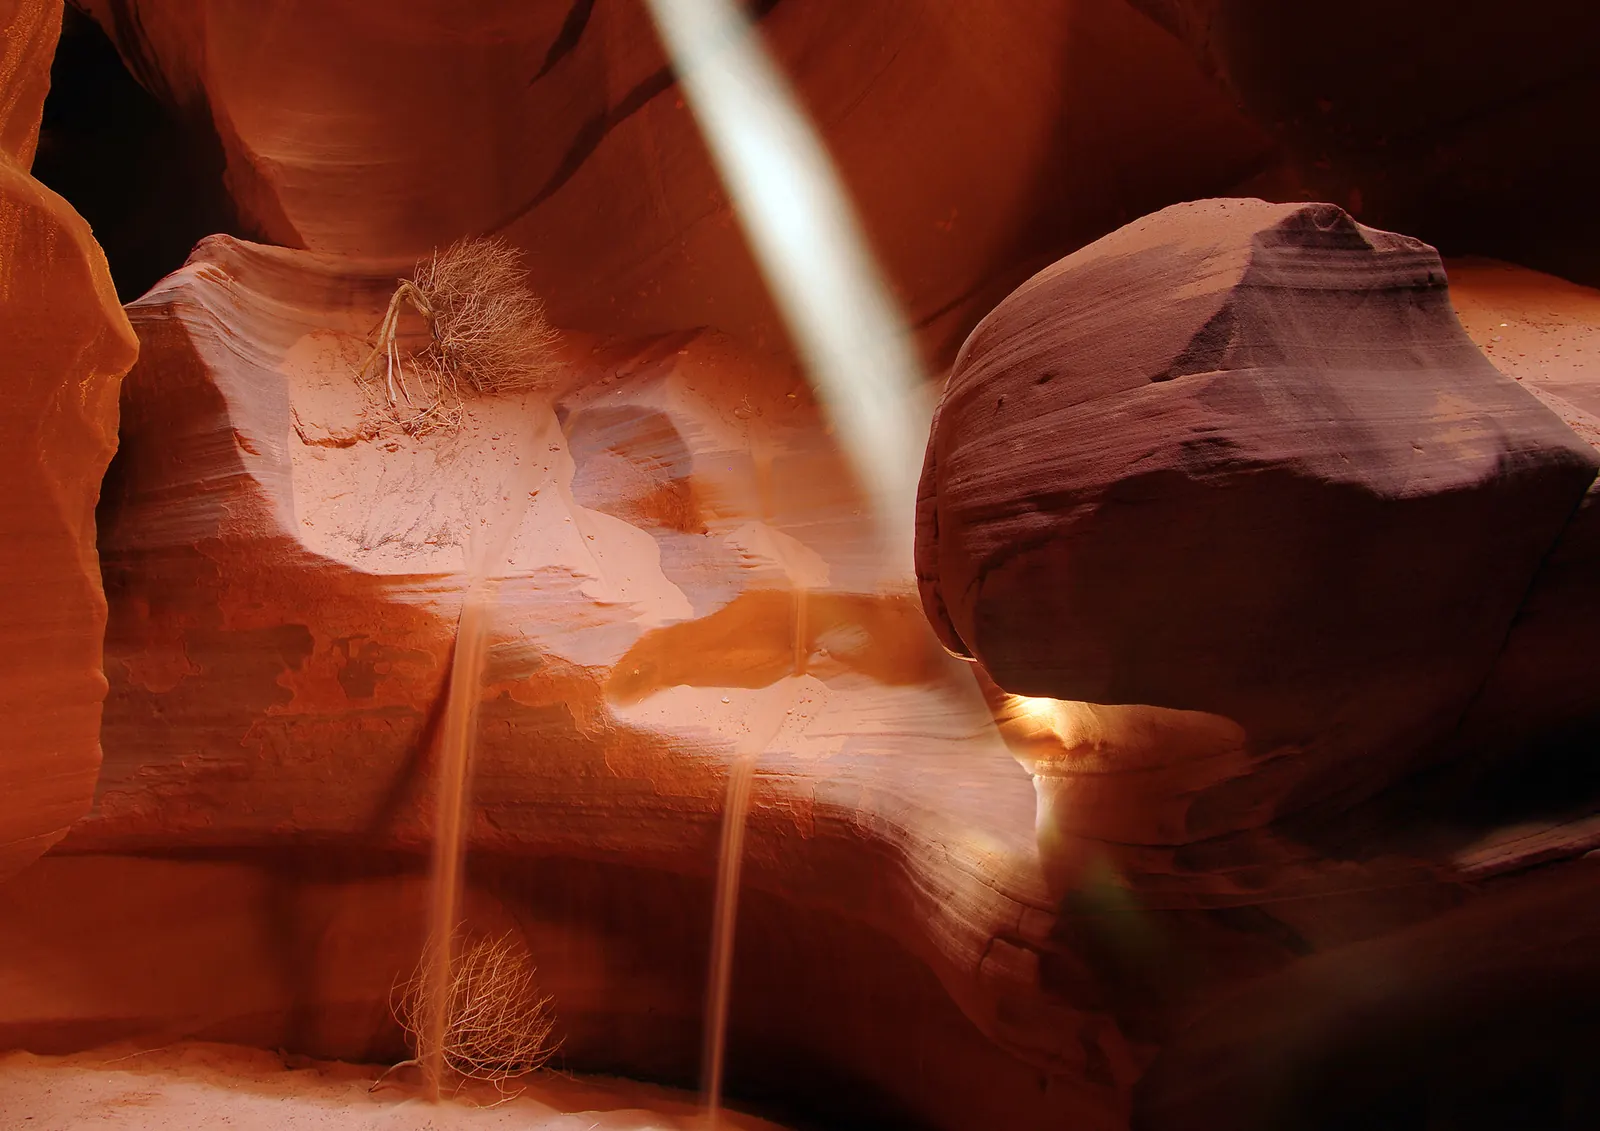
Three things break a normal camera kit here. First, the light itself: sunlight bounces off orange sandstone walls and turns almost every white balance setting warm and inaccurate, while the gap between a lit wall and a shadowed corner is often four or five stops, more than most sensors handle cleanly in one frame. Second, the dust: fine red sand gets into lens threads, camera bags, and zipper seams within minutes, and swapping lenses mid-tour is asking for a sensor full of grit. Third, the pace: standard tours move in a tight group and the guide will not wait for a slow tripod setup, so anything that takes more than a few seconds to adjust costs you the shot.
Camera Gear For Antelope Canyon: Choosing The Right Lens
Choosing the right camera gear for Antelope Canyon starts with the lens. A wide-angle zoom is the single most useful lens here, mainly because the canyon is narrower than it looks in photos and you cannot back up to fit more into frame. Something in the 14 to 24mm range on a full-frame body, or roughly 10 to 18mm on a crop sensor, captures the scale of the walls without forcing you into a dozen separate shots. A wider maximum aperture, f/2.8 or faster, matters more here than usual because you are shooting handheld in low light without a flash, which most tours also prohibit to avoid disturbing other visitors.
| Category | Recommendation | Why It Works Here |
|---|---|---|
| Top Pick | Sony FE 16-35mm f/2.8 GM II | Fast aperture, wide enough for tight passages, sharp corner to corner on a full-frame body |
| Budget Pick | Sigma 18-35mm f/1.8 Art (crop sensor) | Wider aperture than most kit lenses at a fraction of the cost of a pro zoom |
| Premium Pick | Sony a7R V + FE 14mm f/1.8 GM | High-resolution sensor pulls detail out of shadow areas in post, ultra-wide prime for maximum scale |
Small Accessories That Matter More Than People Expect
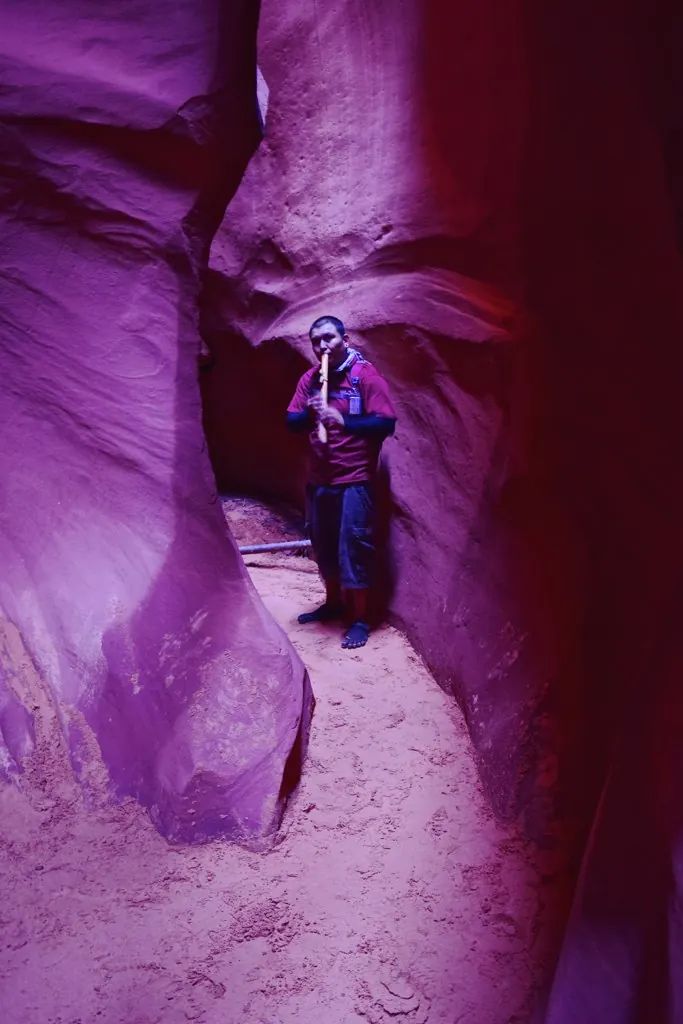
Beyond the lens, the camera gear for Antelope Canyon that matters most is small and easy to forget. A dust-resistant camera pouch or wrap matters more than an extra lens. Sand finds its way into anything left open, and a simple neoprene wrap keeps grit out of buttons and dials between shots. A rocket-style air blower clears sand off the front element without touching the glass, which a cloth alone tends to grind against the lens.
A rain and dust cover sounds excessive for a desert canyon until you remember the fine sand behaves almost like rain does. A spare battery and an extra memory card cost little and solve the two most common ways a tour ends early for photographers: a dead battery mid-tour, or a full card right as the light beam appears. A basic UV or protective filter on the front element is one of the cheapest ways to avoid sanding down the actual lens coating.
Camera Settings That Save You From Missing The Shot
The right camera gear for Antelope Canyon still needs the right settings behind it. Shoot in manual mode if you are comfortable with it, since the canyon’s contrast confuses most automatic metering into underexposing the walls or blowing out the beam. A starting point that works for most cameras: ISO 800 to 1600 in the shadowed sections, ISO 100 to 400 directly under the light beam, aperture around f/8 for depth across the frame, and a shutter speed no slower than 1/60 handheld unless your lens or body has strong stabilization.
Shooting in RAW format rather than JPEG gives far more room to correct the warm color cast in editing later, which matters since getting perfect white balance in-camera here is close to impossible. Switching to continuous or burst mode for a few seconds when the beam appears increases the odds of catching it at its brightest, since the window moves and shifts faster than it looks.
Planning the visit itself, including when the beam actually shows up and which canyon half fits your comfort level, is covered in Geonatra’s Antelope Canyon Arizona planning guide.
Frequently Asked Questions
Can I bring a tripod inside Antelope Canyon? Only on dedicated photography tours, which cost more and run longer than standard tours. Tripods are not allowed on standard group tours.
If I can only bring one piece of gear, what should it be? A wide-angle lens with a fast aperture, ideally f/2.8 or faster, is the single most useful piece of camera gear for Antelope Canyon. It solves more problems here, low light and tight space, than any other accessory.
Does a phone camera work for the light beam shot? A recent phone with a wide-angle mode can capture the beam reasonably well in good conditions, but it struggles with the same high-contrast exposure problem a basic camera has, just with less manual control to fix it.
This article contains affiliate links. Geonatra may earn a commission on qualifying purchases at no extra cost to you.
About the Author
Elena Marsh writes Geonatra’s Places and Tools series, chasing landscapes rare enough to stop a scroll. Her notebooks fill up in national park parking lots at dawn, waiting for permits, comparing gear with strangers, and figuring out which trail actually earns its reputation. She works with Geonatra’s geologists to keep every recommendation grounded in what the land is actually doing.